


 Saeid Sakkaki
How to Setup and use iCloud+ on Windows?
iCloud is one of the most popular and widely used cloud services, developed by Apple. To make access easier for Windows users, Apple has released a dedicated iCloud app for Windows. With this app, users can manage their iCloud data and enjoy the benefits of iCloud+, even on Windows laptops and desktops. In this article, we’ll guide you through downloading, setting up, and using iCloud on Windows, including how to transfer files from your PC to iCloud. Stay with us.
How to Install iCloud on Windows?
Before installing, note that iCloud for Windows is only compatible with Windows 10 or later. If you're using Windows 8, 7, or an older version, the app will not install.
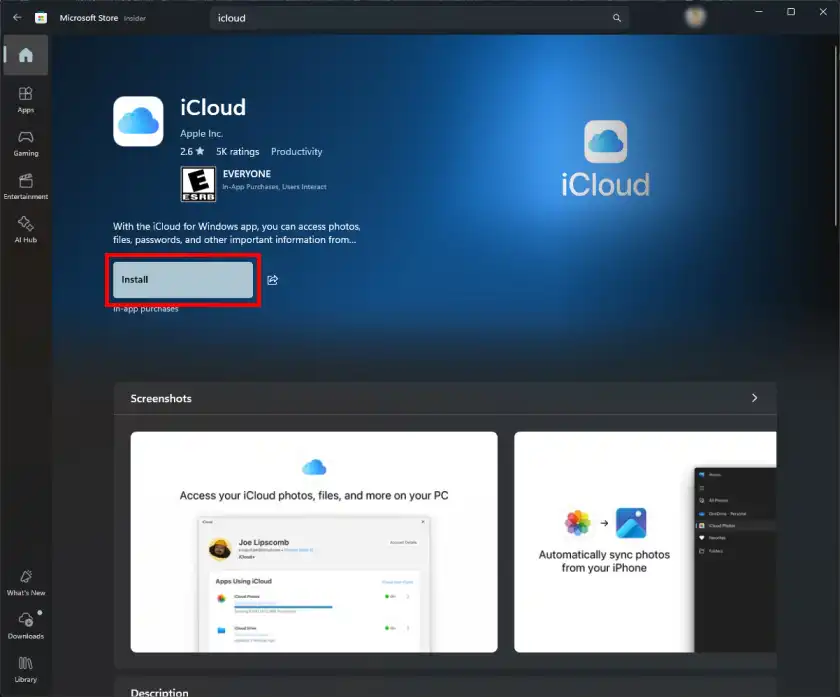
To install iCloud on Windows 10 or 11:
- Open Microsoft Store and search for "iCloud"
- Or use the direct download link for iCloud for Windows
- Click Install on the iCloud page
Signing In to iCloud on Windows
To sign in, enter your Apple ID and password—just as you would on other Apple platforms. If your account has an iCloud+ subscription, its features (such as extra storage and enhanced privacy tools) will be available to you on Windows as well.
You can also activate iCloud+ via an Apple One subscription. After launching the app, click Get Started, sign in with your Apple ID, and follow the steps.
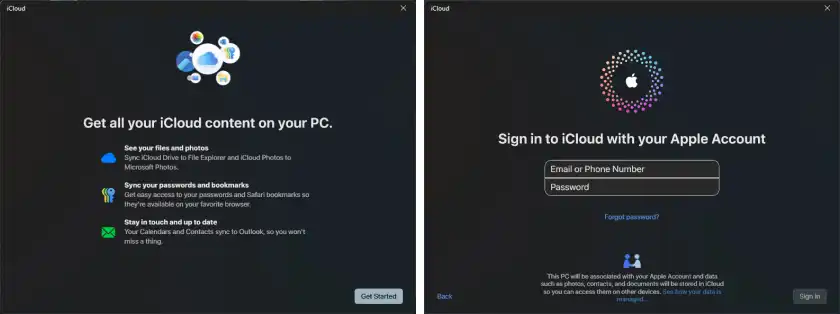
Security steps such as two-factor authentication or answering security questions may be required. Simply follow the prompts.
iCloud for Windows also installs features like iCloud Passwords and Shared Albums, giving you access to saved credentials and shared photo libraries. However, some iCloud+ features may be limited on Windows.
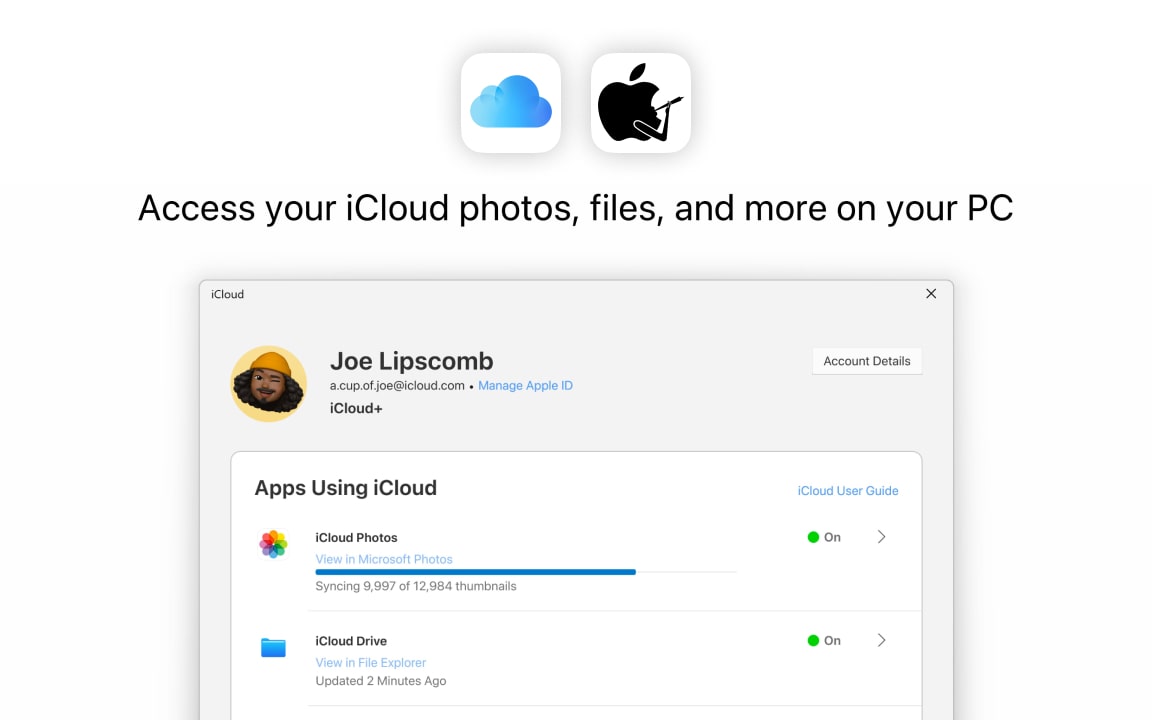
How to Transfer Photos and Videos from Windows to iCloud?
One of the main benefits of iCloud for Windows is syncing photos and videos across your devices. This allows you to upload content from your PC to your iCloud Library, making it accessible on your iPhone, iPad, or Mac.
To transfer content:
- Make sure iCloud Photos is enabled on at least one Apple device (see how to activate iCloud Photos).
- Open the iCloud app on Windows and log in using the same Apple ID.
- Click the arrow next to iCloud Photos.
- Enable iCloud Photos and iCloud Drive.
Customizing iCloud Photo Settings
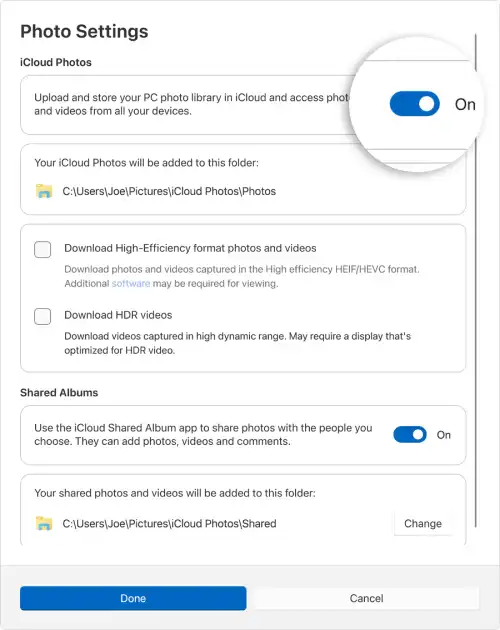
After enabling iCloud Photos, click the Advanced button to configure additional options:
- Download High-Efficiency format: Downloads content in the best quality available.
- Download HDR Videos: For HDR-compatible monitors, enables HDR video playback.
- Shared Albums: Lets you view albums shared with you and share your own.
After making your selections, click Done.
Accessing and Managing iCloud Photos on Windows
You can access your iCloud photos and videos in two ways:
File Explorer:
Go to: C:\Users\[your username]\Pictures\iCloud Photos
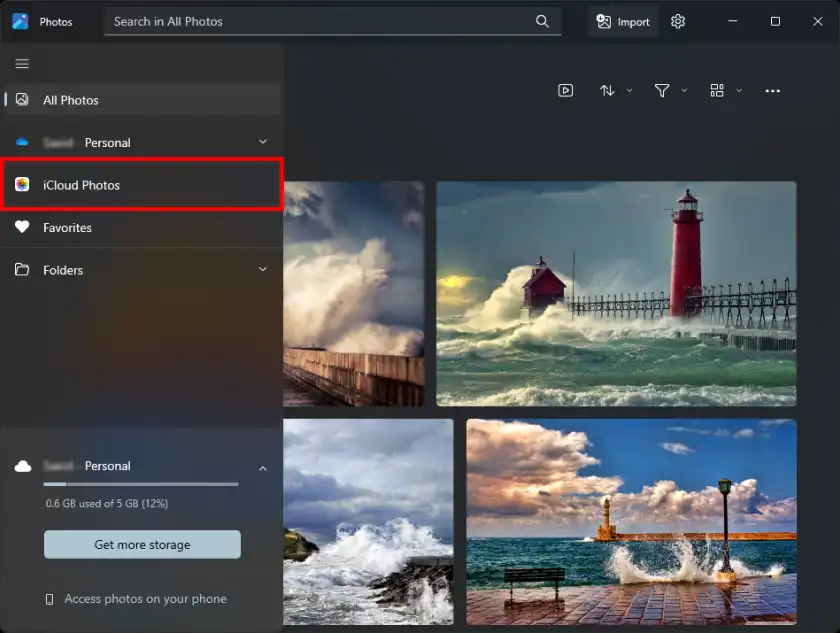
Photos App (Windows 11):
- Open the Photos app from the Start menu.
- Click iCloud Photos from the left-hand sidebar (use the three-line icon if hidden).
File Explorer (Windows 10):
- Open This PC or press Windows + E.
- From the left sidebar, click on iCloud Photos.
Downloading iCloud Photos for Offline Use
To save content offline:
1. Open This PC and navigate to iCloud Photos.
2. Right-click on the desired photo or video.
3. Select Always keep on this device. This downloads the file locally.
Uploading Photos and Videos from Windows to iCloud
To upload files from your PC to iCloud:
1. Open This PC.
2. Find and select your desired photos and videos.
3. Drag and drop them into the iCloud Photos folder in the left pane.
Conclusion
iCloud for Windows provides an effective way to manage your cloud storage and sync files across Apple and Windows devices. All you need is an Apple ID. To unlock more features and extra storage, consider upgrading to iCloud+. Buy iCloud+ Subscription and say goodbye to low storage warnings forever!