


 Saeid Sakkaki
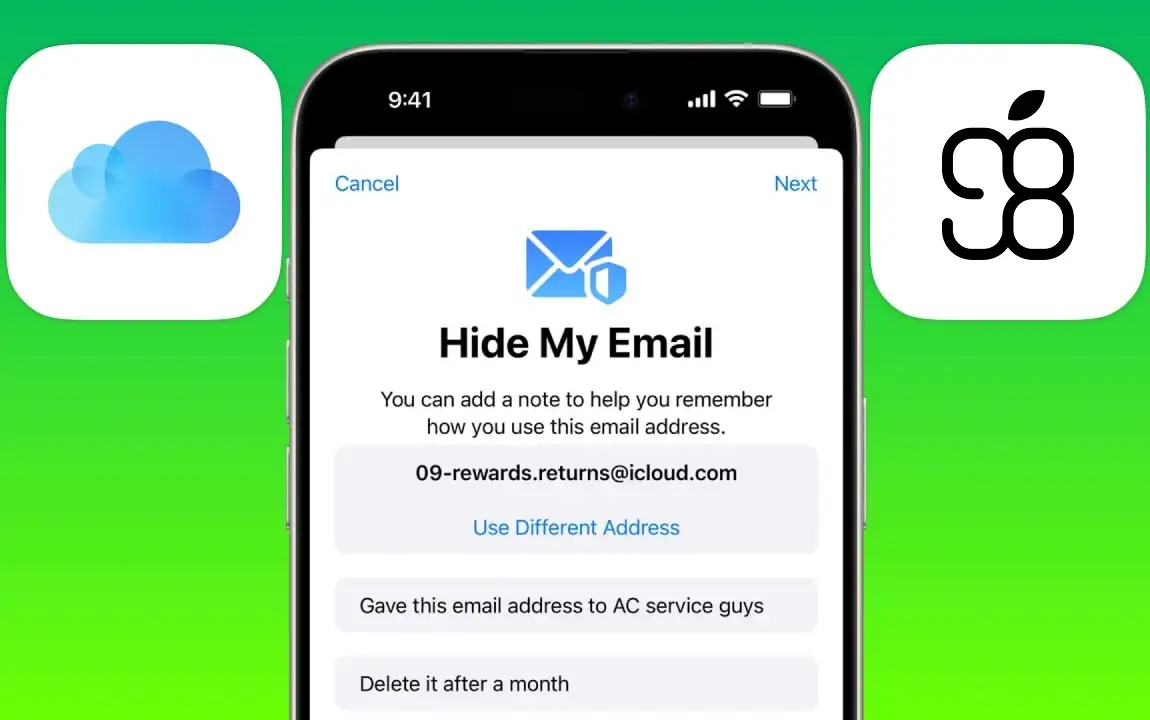
What is iCloud+ Hide My Email and how to activate it?
You must have seen that many websites require an account. Most of these websites ask you for an email address to create an account and then send you annoying promotional and marketing emails. Apple has addressed this problem and made it possible to register on websites with your email, but no more promotional emails! "Hide My Email" feature is one of the interesting features of iCloud+. Hide My Email helps you create an account on websites, but not with your real email! In this article, we will explain this feature and how to enable and use it. Stay tuned.
What is the Hide My Email feature and what does it do?
Hide My Email is available to you after you buy iCloud+ subscription. This cool feature creates temporary email addresses for you, allowing you to use them wherever you need to enter an email address, and not use your real email address anywhere. In addition to maintaining security and privacy, this feature also prevents you from receiving useless emails and advertisements that websites send to their users daily.
How to access Hide My Email iCloud+?
After buying iCloud+, you can use and manage Hide My Email on your iPhone, iPad, Mac, etc. When you enable this feature, you no longer need to provide your real email address everywhere. Please note that you must have at least iOS 15, iPadOS 15, and macOS 12 to use Hide My Email.
Where can Hide My Email be used?
You can use Hide My Email on the following devices and apps:
- Safari browser on iPhone, iPad, and Mac: when filling out sign up forms, etc. that ask for your email address, as well as websites and apps that support Sign in with Apple or Continue with Apple.
- Mail app on iPhone, iPad, Mac, and iCloud web: when composing and sending a new email you can use the temporary emails provided by Hide My Email as the source email.
- Apple Pay on iPhone, iPad, and Mac: When a website or app asks for your email address to complete a payment that supports Apple Pay.
- Various apps and websites: every website and app that supports Hide My Email on iPhone, iPad, Mac, and the web.
- iPhone and iPad settings.
- System Preferences on Mac.
- iCloud+ Features page on the iCloud website.
How do I send and receive emails with Hide My Email?
If you use a "Hide My Email" email address somewhere but want to receive emails from there, the emails you receive from there will be forwarded to your main email inbox. Even though you reply to emails received with Hide My Email will be done through your main email inbox, the recipient of your email will see the same temporary email address and your real email address will remain private. Do not worry about losing or misplacing your temporary email addresses. You can create an unlimited number of temporary email addresses and assign a special label or tag to each one so that you can categorize and separate the emails sent and received from each one.
Steps to set up Hide My Email and create temporary emails with it
Now that you are familiar with this interesting service, it is better to know how to use it. First of all, you need an iCloud+ subscription to use this service. After purchasing and activating iCloud+, you can enable Hide My Email feature on your iPhone and iPad, following the instructions below:
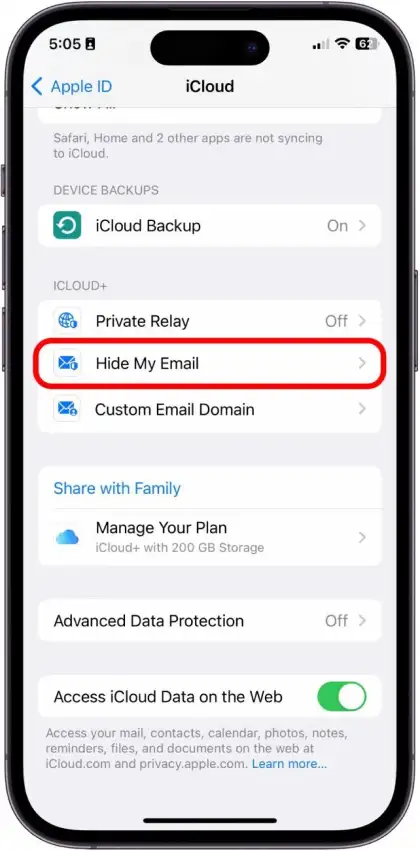
- Open your iPhone or iPad settings and tap your name.
- Select iCloud, then tap Hide My Email option. here you can enable this option and also manage your temporary email addresses.
How to use Hide My Email?
To use Hide My Email, follow the steps below. These steps work the same on iPhone, iPad, and Mac.
Hide My Email in Safari
Open the desired website's sign-up page, tap the email type-in to open the keyboard, then tap Hide My Email button above the keyboard to create a random email address for you. If you've already created an email address, you can also choose one here.
Hide My Email in Mail app
Compose a new mail by tapping the "New Mail" button. In the new email compose window, tap the From field and select Hide My Email from the menu that appears.
Hide My Email in Apple Pay (for iOS and iPadOS 17 and up)
To enable this feature, simply go to your device settings and tap Wallet and Apple Pay. Here tap Email. Then enable Hide My Email.
To use this feature in this section, you can also click on the Contact option at any time on the Payment Sheet page and then select Hide My Email to create a random email address for you or use your previous addresses.
Hide My Email in third-party apps
Starting with iOS and iPadOS 16, some apps also support Hide My Email feature. Using temporary emails in these apps is similar to using them in the websites in Safari. Just open the app in question and tap the Hide My Email button on your keyboard wherever you see an email field.
How to manage temporary iCloud+ emails?
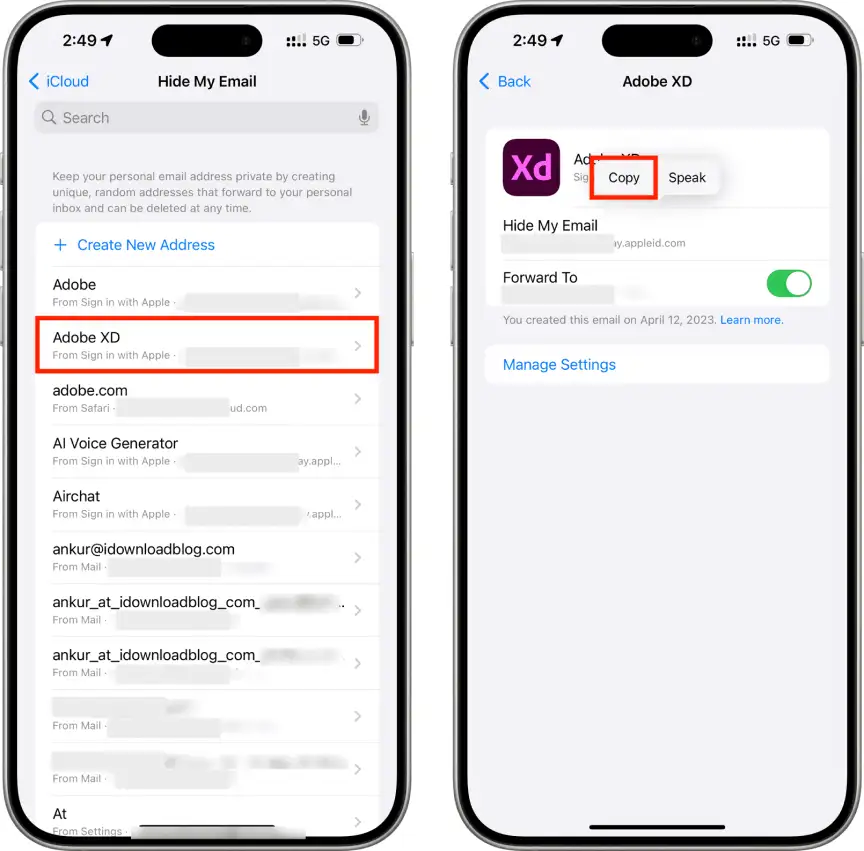
To manage the temporary emails that iCloud+ creates for you with the Hide My Email feature, go to Settings and tap your name; sign in to iCloud and tap the Hide My Email option. Then follow the instructions for each of the following operations:
Create a new temporary email
Click the Create New Address button and follow the on-screen steps to create a new email address.
Enabling and disabling temporary email addresses
Tap the email address you want to deactivate, then tap Deactivate Email Address. This will stop you from receiving any more emails from that address. Follow the same steps to reactivate it.
Changing the destination email of temporary addresses
To specify which of your main email addresses you want to forward incoming emails to with each temporary email address, click the Forward To button. You can then specify the destination email address.
Conclusion
The iCloud+ Hide My Email is one of Apple's most interesting features, helping you protect your main email address when using websites and not share it with others. The number of websites and apps that are compatible with this feature is increasing day by day. To activate this feature, all you need to do is have an iCloud+ subscription. Best and cheapest way to activate iCloud+ with 2 TB storage is to buy iCloud+!